Millet Cookies

Written by Tad. Posted in Cookies

Sometimes, I get inspiration for a new cookies recipe based on what I have that I want to get rid of. I had some corn flour and freeze-dried corn so I made Momofuku Corn Cookies last week for choir. I had forgotten how WONDERFUL they are! If you have not tried them, take a look at the recipe on my blog.

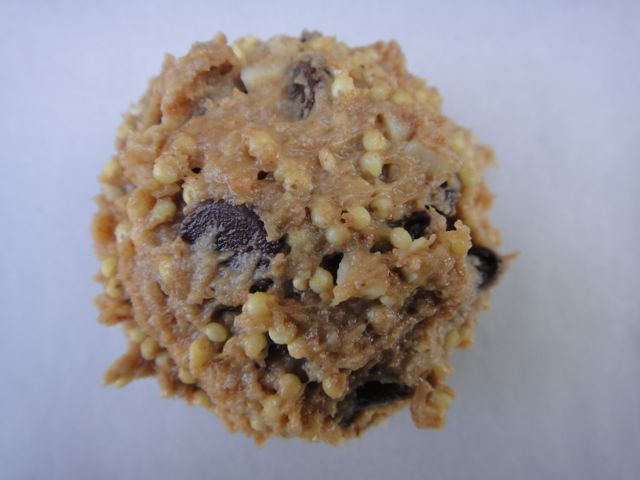
This week, I decided to get rid of some millet  we have had around for a long time. I don’t even remember why I bought it. When you go online and look for cookies containing weird things, you almost always end up in the “health food” or “gluten-free” worlds. That was certainly true as I looked for a millet recipe. Most that I found called for millet flour, usually as a gluten-free replacement for wheat. This recipe caught my attention because, as you can tell by looking at the ingredients, it is neither “health food” nor “gluten-free.” The millet is also roasted and used whole, rather than ground into flour. That interested me and I was not disappointed.


DSC03668

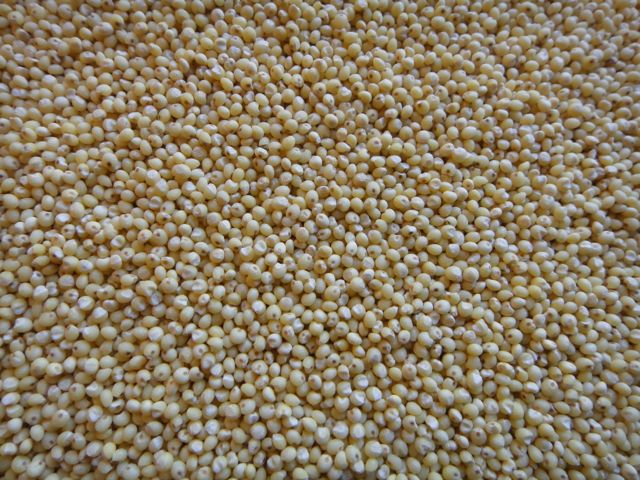
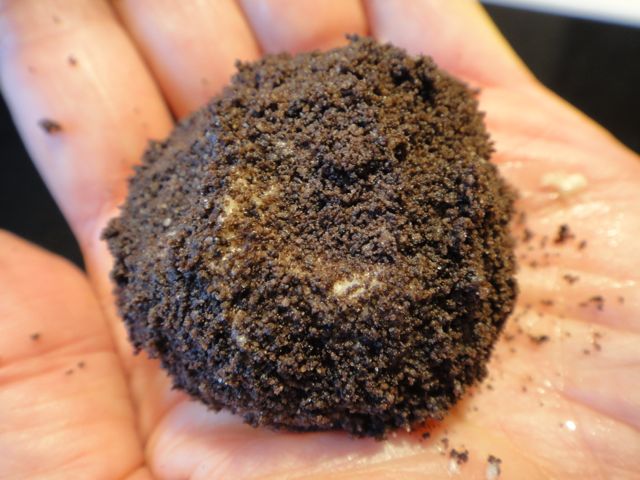
Close up of millet grain.

DSC03669

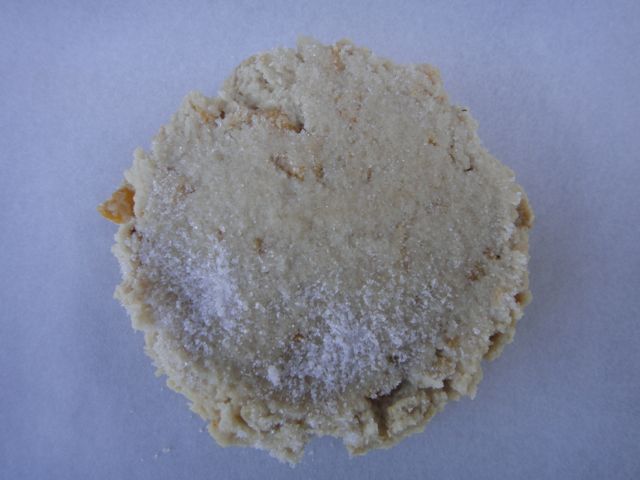
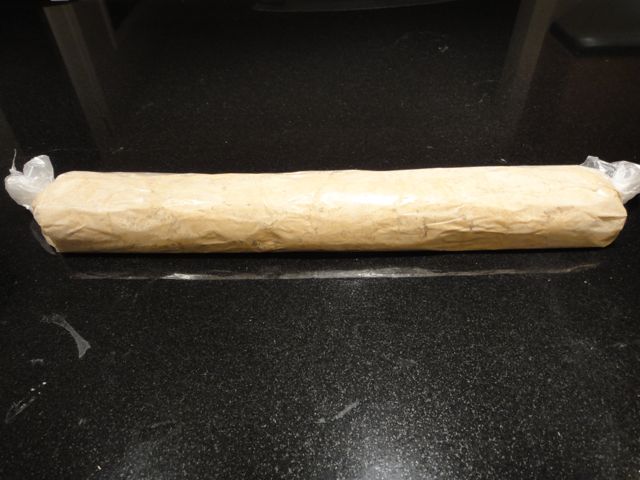
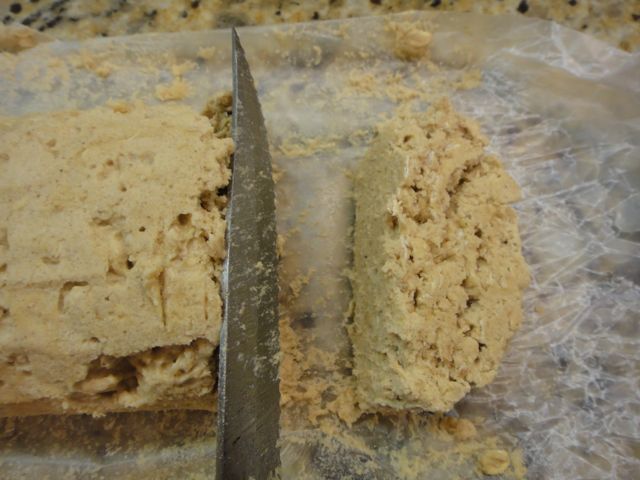
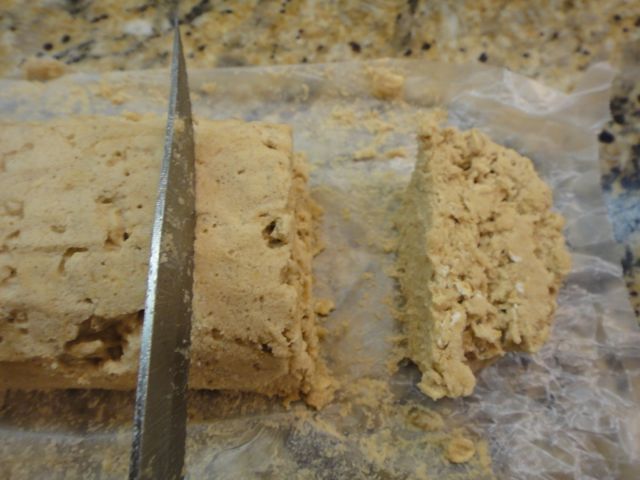
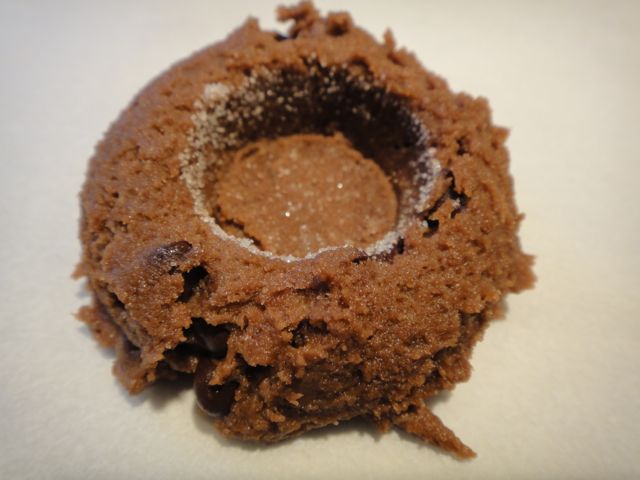
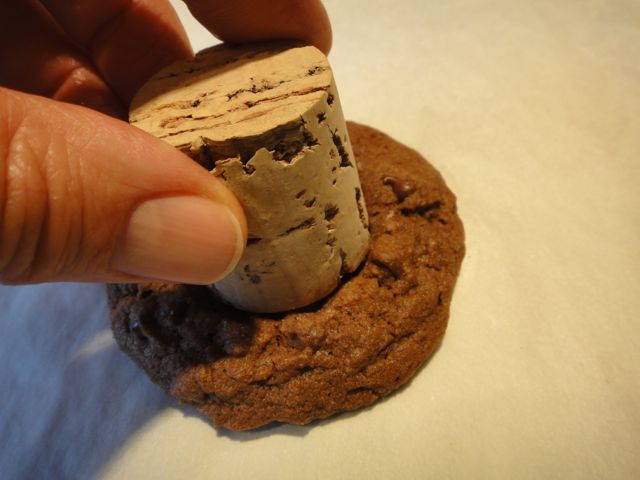
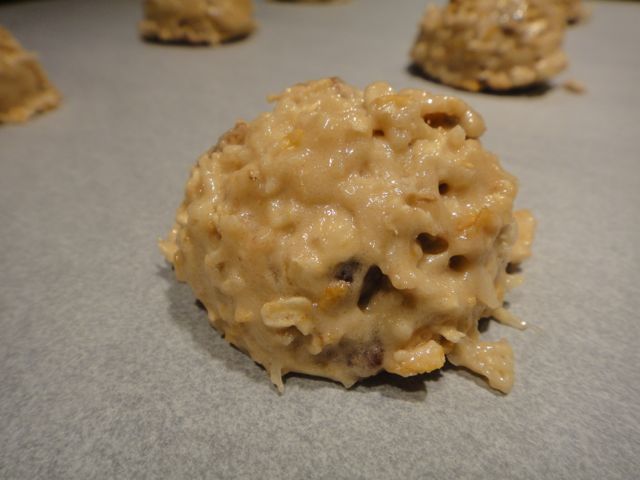
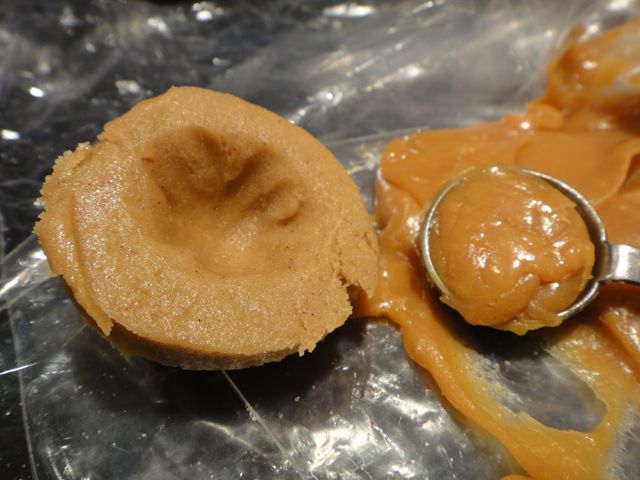
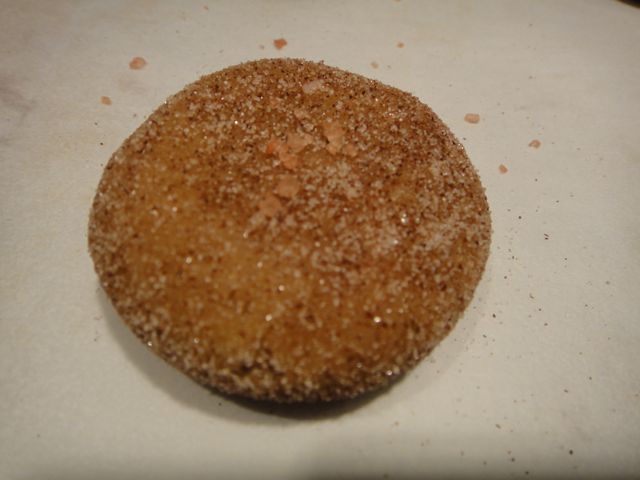
A great looking dough ball!

DSC03674

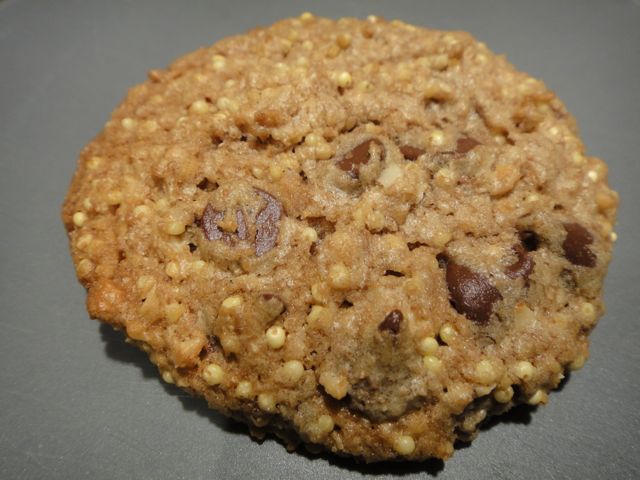
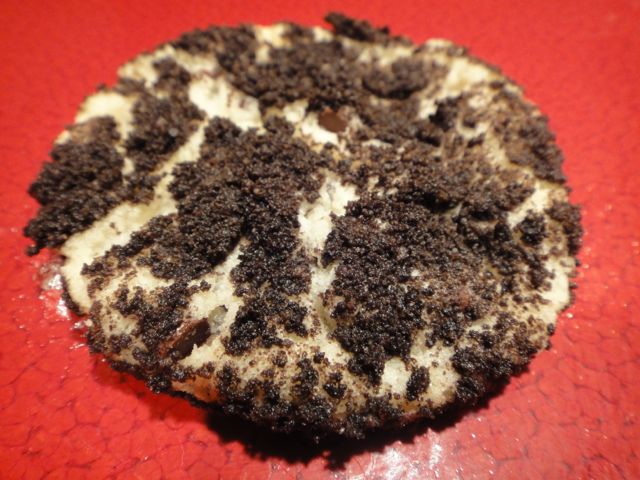
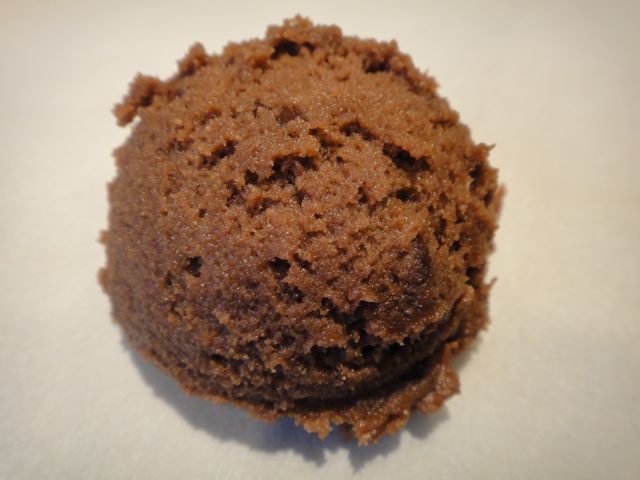
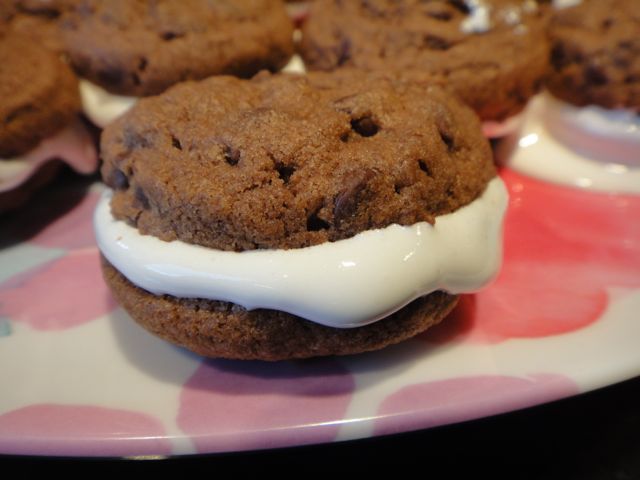
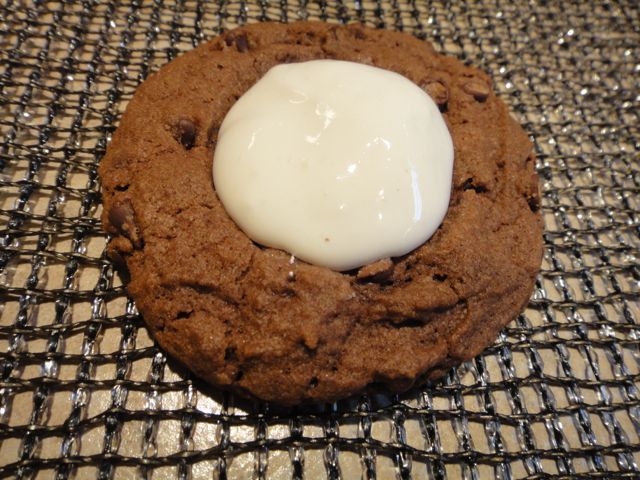
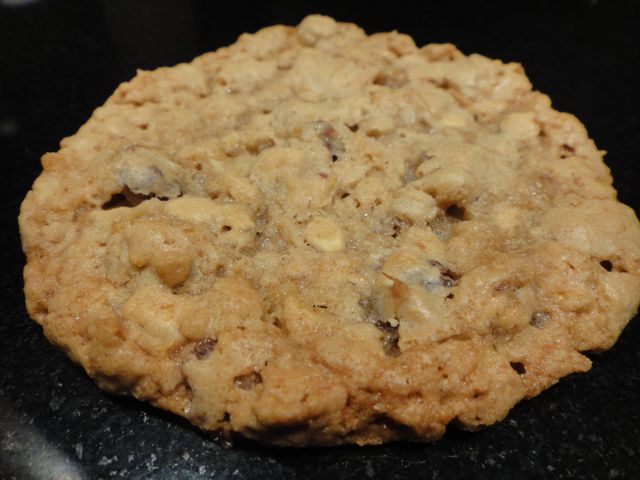
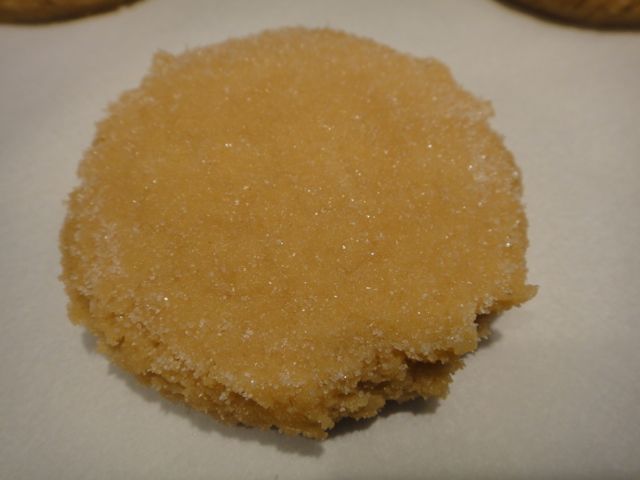
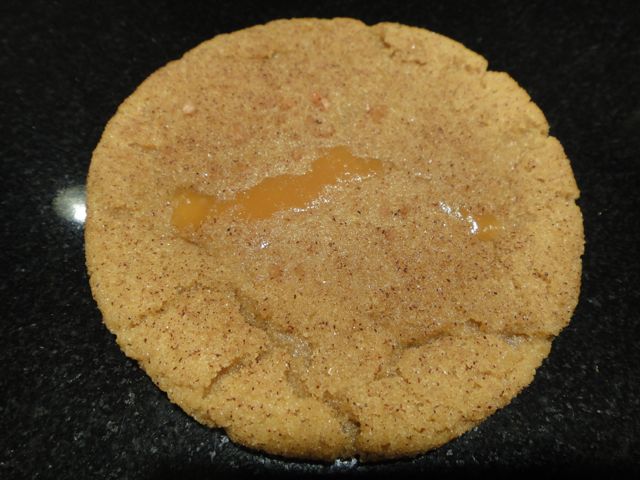
And an interesting-looking cookie!


Recipe By:

cakespy.com

Yield:

30

Ingredients:

1 cup millet
1 cup cashews, coarsely chopped*
1½ cups whole wheat flour
½ teaspoon baking soda
1 teaspoon salt
1 cup unsalted butter, softened
1 cup light brown sugar, packed
2 large eggs
1 teaspoon vanilla
1 cup chocolate chips

Directions:

1. Heat oven to 350 degrees. Line two baking sheets with parchment paper.

2. Toast nuts and millet on a baking sheet while the oven heats. Because they toast at different rates,  scatter the cashews on the sheet and let them toast for about 5 minutes. Add millet, then let the whole tray toast for five more minutes.**

3. Remove from  oven. Set aside to cool.

4. In a medium bowl, sift together  flour, baking soda, and salt. Set aside.

5. Cream butter in a stand mixer until nice and fluffy, 3 to 5 minutes. Add the brown sugar and continue to mix until it becomes fluffy again, 3 to 5 more minutes.

6. Add  eggs one at a time, briefly mixing after each addition until incorporated. Stir in vanilla.

7. Add dry ingredients to the butter mixture, mixing as minimally as possible until everything is incorporated.

8. Add millet, cashews and chocolate morsels. Fold gently into the dough until evenly incorporated.

9. Scoop 2 tablespoon balls of dough onto prepared baking sheets.

10. Bake 12 to 15 minutes, or until toasty on the edges and set in the center. Remove from oven. Let cool on the baking sheet for a minute or so before transferring to wire racks to cool completely.

Notes:

* My Nob Hill didn’t have raw cashews so I bought roasted, unsalted nuts and only roasted the millet.

** I kept waiting for the millet to look or smell toasty but even after 15 minutes that didn’t happen. Next time, I would just toast them for 5 minutes and be done. Does that much toasting even make a difference? Good question for future experimenting!

Oreo Cheesecake Cookies

Written by Tad. Posted in Cookies

Some time ago, I posted a recipe for Cookies and Cream Cookies. At that time, my daughter-in-law, Elizabeth, sent me a recipe for Oreo Cheesecake Cookies. I just came across that recipe, which I had misplaced. I had Oreo crumbs left over from a holiday chocolate pie crust and cream cheese also left over from the holidays so this was perfect. It made me nervous that they had neither eggs nor leavening, but they turned out great. They are super rich and very interesting in appearance. They are also easy to make.

DSC03655 DSC03656 DSC03662

Recipe from:

Elizabeth via tablefortwoblog.com

Yield:

16 cookies

Ingredients:

½ cup butter, at room temperature
3 ounces cream cheese, at room temperature
1 cup granulated sugar
1 teaspoon vanilla extract
1 cup flour
½ cup mini chocolate chips
1 cup crushed Oreos, about 10 cookies

Directions:

1. Heat oven to 375 degrees. Line baking sheets with silicone baking mats or parchment paper.

2. In a food processor, process the Oreo cookies until they’re fine crumbs. Set aside.

3. In the bowl of a stand mixer, cream together butter and cream cheese until smooth.

4. Add sugar and vanilla extract. Beat until well incorporated.

5. Gently mix in flour.

6. Stir in chocolate chips with a spatula.

7. Using a two-tablespoon cookie scoop, form into balls. Roll each ball in Oreo crumbs, covering the dough well.

8. Place balls on prepared cookie sheet.

9. Bake 12-15 minutes.

10. Remove from oven when you see  the edges are just getting browned. Let cool on baking sheet for 5 minutes then transfer to cool completely on a wire rack.

World’s Best Cookies

Written by Tad. Posted in Cookies

DSC03629 DSC03631

My wife brought home a Daughters of Utah Pioneers cookbook she was given by our friend, Louise. Most of the recipes were really dated, like they called for “half a stick of oleo.” This one caught my attention with its audacious title and the cornflakes. I had some cornflakes I needed to get rid of so I decided to make them. They are light and a bit crispy, which surprised me, given all that vegetable oil.

Yield:

42

Source:

Daughters of Utah Pioneeers Cookbook. This recipe is all over the internet with minor variations like amounts of salt or soda.

Ingredients:

1 cup butter
1 cup white sugar
1 cup packed brown sugar
1 egg
1 cup vegetable oil
1 teaspoon vanilla extract
3½ cups all-purpose flour
1 teaspoon baking soda
1 teaspoon salt
1 cup rolled oats
½ cup flaked coconut
1 cup crushed cornflakes cereal
½ cup chopped pecans (optional)

Directions:

1. Heat oven to 325 degrees.

2. Cream together butter and sugars.

3. Stir in egg, oil and vanilla. Mix well.

4. Stir in flour, baking soda and salt. Mix well.

5. Stir in coconut, cornflakes and nuts.

6. Drop 2 tablespoon balls on cookie sheets.

7. Flatten each ball with my favorite cookie flattening method: butter the bottom of a drinking glass. Dip buttered surface in sugar. Press down on dough ball to flatten somewhat. Redip in sugar before flattening the next cookie.

8. Bake 12 – 15 minutes. They don’t brown very much so don’t over cook them.

Mabel’s Oatmeal Crispies – or Not So Crispies

Written by Tad. Posted in Cookies

DSC03590

When I was growing up, our go-to cookie recipe came from my paternal grandmother. We called them Oatmeal Crispies. Since I don’t like crispy cookies, I tweaked them a bit and cook them a little shorter time so they can now be fairly called Oatmeal Not-So-Crispies. I tried them again this week for the first time in a long time and wanted to share them with you.

Recipe By:

Grandma Mabel

Makes:

48

Ingredients:

1 cup shortening
1 cup butter
2 cups brown sugar
2 cups white sugar
4 eggs
2 teaspoons vanilla
3 cups flour
2 teaspoons salt
2 teaspoons cinnamon
6 cups oatmeal
1 cup walnuts, chopped

Directions:

1. Cream together:  shortening, butter, and sugars.

2. Beat in  eggs and vanilla.

3. Sift together dry ingredients. Stir them into butter mixture.

4. Roll into logs in wax paper. Chill overnight.

DSC03584

5. Slice.

DSC03589 DSC03588

6. Place on parchment-lined baking sheets.

7. Bake at 325 for 12 minutes.

Hot Cocoa and Marshmallow Sandwich Cookies

Written by Tad. Posted in Cookies

DSC03570 DSC03581

The blogger, who posted this on The Cackling Cookie, said she would try to make them thumbprint rather than sandwich cookies. I tried them both ways. For the sandwiches, I made each cookie from only a tablespoon of dough. For the thumbprints, I made each cookie from two tablespoons of dough. Even though I pressed a nice indentation in them prior to baking, I had to press the center again as soon as they came out of the oven.* Since the marshmallow cream runs, the sandwich cookies were a mess unless eaten immediately whereas the thumbprints were a lot neater.**

Recipe By:

https://cacklingcookie.wordpress.com

Yield:

34 sandwiches

Ingredients:

2¼ cups flour
1 teaspoon baking soda
1 cup unsalted butter, softened
¾ cup brown sugar
¼ cup sugar
3 ounces instant chocolate pudding mix
2 eggs
1 teaspoon vanilla
12 ounces milk chocolate chips***
7 ounces marshmallow cream

Directions:

1. Heat oven to 350°.

2. Line baking sheets with parchment.

3. Combine the flour and baking soda. Set aside.

4. In a large bowl, cream together butter and sugars.

5. Beat in instant pudding mix until blended.

6. Stir in eggs and vanilla.

7. Stir in flour mixture.

8. Stir in chocolate chips.

9. Place one tablespoon balls of dough onto prepared baking sheets.

10. Bake 10-12 minutes until edges are golden brown. They may still look a little under-done. Once they are comfortable to touch, transfer to a cooling rack.

11. Sandwich a heaping tablespoon of marshmallow cream between two cookies. Continue with the remaining cookies until done.

Notes:

*
DSC03572 DSC03573

**

DSC03579

*** I made them with mini-chocolate chips because little cookies don’t tolerate the big chips as well and because the base of these cookies is not very chocolaty, having only the pudding to  contribute chocolate flavor, so they do really well with semi-sweet chocolate rather than milk chocolate.

Coconut Date Chewies

Written by Tad. Posted in Cookies

DSC03557 DSC03559

While thrifting last week, my wife came across a little cookbook, Festive Foods, published in 1971 but the City Public Service Board of the Wisconsin Gas Company. Most of the recipes looked like they came from 1971 and were not very interesting to me. This one caught my attention, however, and it is worth making. The ingredients are not weird but interesting and the cookie is sweet and chewy, as the name implies. To poke fun at the pretentious $250 Cookies, my wife recommended I change the name to “Twenty-seven Cent Cookies” since that is what she paid for the cook book.

Recipe by:

Adapted from Festive Foods, City Public Service Board, Wisconsin Gas Company

Yield:

38

Ingredients:

2 cups flour
1 teaspoon baking soda
½ teaspoon baking powder
1 teaspoon salt
1 cup butter, softened
1 cup sugar
1 cup brown sugar
2 eggs
½ teaspoon almond extract
½ teaspoon coconut extract
2 teaspoons vanilla
½ cup sweetened condensed milk
1 cup nuts, finally chopped (optional)
1 cup dates, minced
1 cup coconut
2 cups oats
2 cups corn flakes

Directions:

1. Heat oven to 350 degrees. Cover baking sheets with parchment.

2. Combine flour, soda, baking powder and salt. Set aside.

3. Cream butter until smooth and fluffy. Gradually beat in sugars.

4. Beat in eggs, extracts and sweetened condensed milk.

5. Mix in flour mixture.

6. Mix in nuts, dates, coconut and dates.

7. Gently stir in corn flakes.

8. Drop in 2 tablespoon balls onto prepared baking sheets. Bake about 12 minutes until bottoms and edges are browning. Cool for 2 minutes before removing to a rack to cool completely.

Tad’s Samoa Cookies

Written by Tad. Posted in Cookies

DSC03555

I am not a great fan of Girl Scout Cookies but, if I have to pick a favorite, it is the Samoas. My friend, Nadine, sent me the link to a Samoa recipe at Chef in Training. This is what I came up with after tweaking it to my taste. It is a complicated cookie so not one you can just whip on up on Thursday night before your shift at work. But for a special occasion when you want to show off, it is great.

Adapted from:

Chef in Training

Yield:

24

Ingredients:

2¼ cups flour
½ teaspoon salt
1 teaspoon baking soda
¾ cup butter, softened
¼ cup sugar
¾ cup brown sugar
3.4 ounces vanilla instant pudding mix, dry
2 eggs
1 teaspoon vanilla
2½ cups semi-sweet chocolate chips, divided
11 ounces Kraft Caramels *
1 tablespoon water
½ teaspoon coconut extract
2 cups toasted coconut **

Directions:

1. Heat oven to 350 F. Line baking sheets with parchment.

2. Stir together flour, salt and baking soda. Set aside.

3. In a large bowl, cream together butter and sugars.

4. Add pudding. Beat until well blended.

5. Add eggs and vanilla. Beat until well blended.

6. Slowly stir in flour mixture until well incorporated.

7. Scoop into 2 tablespoon balls and press down to flatten. *** Place on prepared baking sheets.

DSC03534 DSC03535

8. Bake 10-12 minutes until edges and bottoms are starting to brown. Remove from oven and allow to cool completely on rack.

DSC03540

9. Microwave 2 cups of chocolate chips on high in 30-second increments, stirring between each increment until chocolate is smooth and melted.

10. Spread a small amount of chocolate on the bottom of each cookie, just enough to cover. Place chocolate side down on wax paper until chocolate has hardened.

DSC03543

11. Microwave caramels and water for about 45 seconds. Stir until smooth and well combined. Stir in coconut extract.

12. Stir in toasted coconut.

13. Spread caramel mixture evenly over the cookies. Press down gently.

DSC03550

14. Microwave ½ cup chocolate chips until just melted. Stir until smooth. Place in small Ziploc bag. Use scissors to cut small piece off corner of bag. Pipe chocolate over cookies.

DSC03555

Notes:

* I prefer Peter’s caramel. I buy it in a block at Cash & Carry.

** To toast coconut: Spread coconut out on baking sheet. Bake at 300 degrees for about 20 minutes, stirring every 5 minutes, until lightly browned and fragrant.

*** Butter bottom of a glass. Dip into small bowl of sugar. Press gently down on dough ball to flatten. Dip again into sugar before flattening the next cookie.

Frozen Cookie Balls

Written by Tad. Posted in Cookies

I have been encouraged to share a cookie-baking trick with you.

After mixing up a batch of cookies, scoop balls of cookie dough onto a plate. Put the plate in the freezer. When the balls are frozen, transfer them into a Ziploc bag and return them to the freezer.

They will keep in there indefinitely and can be pulled out in any number to be baked. This allows for fresh, hot cookies in a few minutes.


Brown Butter Salted Caramel Cookies

Written by Tad. Posted in Cookies

DSC03526 DSC03527 DSC03531 DSC03532

We recently became grandparents for the first time. When we were in Virginia to welcome the newest member of the family, our daughter-in-law gave me this recipe. I love caramel and “salted carmel” is all the rage so I was really excited to they these. They are great! Several people in the emergency department Thursday night said they were their new favorites. I made some with Peter’s caramel and some with Kraft. The Peter’s tastes way better and the Kraft are firmer and melt less so they are very different. I recommend Peter’s or some other higher quality caramel over Kraft, if you have it available. I buy Peter’s at Cash and Carry. You definitely need to avoid the temptation to over cook them. They are flat and soft. And that sprinkle of salt –  no wonder salted caramel is so popular.

Recipe By:

Two Peas & Their Pod

Yield:

24

Ingredients:

2½ cups all-purpose flour
1 teaspoon baking soda
2 teaspoons cream of tartar
½ teaspoon ground cinnamon
½ teaspoon sea salt
1 cup unsalted butter, sliced
1¼ cup dark brown sugar *
½ cup granulated sugar *
1 large egg
1 egg yolk
1 tablespoon vanilla extract
1 tablespoon plain Greek yogurt **
1 cup caramel squares, cut into ¼’s ***
¼ cup granulated sugar
2 teaspoons ground cinnamon
Sea salt, for sprinkling on top of cookies

Directions:

1. In a medium bowl, whisk together flour, baking soda, cream of tartar, ½ teaspoon cinnamon, and ½ teaspoon sea salt. Set aside.

2. To brown the butter, heat a thick-bottomed skillet on medium heat. Add the sliced butter, whisking frequently. Continue to cook the butter until melted. The butter will start to foam and browned specks will begin to form at the bottom of the pan. The butter should have a nutty aroma. Watch the butter carefully because it can go from brown to burnt quickly. Remove butter from the heat and let cool to room temperature.

3. In the bowl of a stand mixer, combine the brown butter, brown sugar and ½ cup granulated sugar. Mix until blended and smooth.

4. Beat in egg, yolk, vanilla, and yogurt. Mix until combined.

5. Slowly mix in the dry ingredients until just combined.

6. Form the dough in a ball and cover with plastic wrap. Chill in the refrigerator for at least 30 minutes or overnight.

7. When ready to bake, heat oven to 350 degrees F. Measure about 2 tablespoons of dough and roll into a ball. Make an indentation with your finger and place a piece of caramel in the center of the dough. Wrap the cookie dough around the caramel, making sure the caramel is completely covered with dough.

8. In a small bowl, combine 2 teaspoons cinnamon and ¼ cup sugar. Roll the balls in the cinnamon-sugar mixture. Place dough balls on a large baking sheet that has been lined with a Silpat baking mat or parchment paper. Make sure the cookies are about 2 inches apart. Flatten them a little so the sea salt sprinkle will stay on them. Sprinkle the cookie tops with  a pinch of sea salt.

9. Bake 13-15 minutes or until the edges of the cookies begin to turn golden brown.****  The centers will still be soft. Cool the cookies on the baking sheet for 2-3 minutes, or until set. Transfer cookies to a wire cooling rack and cool completely.

Notes:

* I used 1¾ cups light brown sugar in place of the dark brown and granulated sugars.

** I have no idea what this little bit of yogurt would do for these cookies. If I had not had it, I would have just left it out.

*** I used a teaspoon of Peter’s caramel or a whole Kraft caramel in each ball of dough.

**** The cinnamon coating makes them look more done than they are.

Thick and Chewy Chocolate Chip Cookies

Written by Tad. Posted in Cookies

DSC03501 DSC03504

I know there are a million chocolate chip cookies recipes out there. I recently tried this one and decided it was good enough to share with you. I have noted in the past that melting the butter and baking at a lower temperature for a longer time makes a great texture for a chocolate chip cookie. I rediscovered this when I made these cookies. The pull-apart method of ball formation made for a really fun texture and cookies that are twice as big as the ones I usually scoop out.

Source:

Many close variations on Internet

Yield:

30

Ingredients:

4¼ cups unbleached all-purpose flour, (22 ounces)
1 teaspoon baking soda
1 teaspoon salt
1½ cups unsalted butter, melted and cooled until warm
2 cups packed brown sugar
1 cup granulated sugar
2 large eggs
2 egg yolks
4 teaspoons vanilla extract
3-4 cups semisweet chocolate chips

Instructions:

1. Heat oven to 325 degrees. Line 2 large baking sheets with parchment paper or spray them with nonstick cooking spray.

2. Whisk together  flour, baking soda, and salt in a medium bowl. Set aside.

3. Mix butter and sugars until thoroughly blended.

4. Beat in eggs, egg yolks, and vanilla until combined.

5. Add  dry ingredients and beat at low speed just until combined.

6. Stir in chocolate chips.

7. Roll  ¼ cup of the dough into a ball. Hold the dough ball with the fingertips of both hands and pull into 2 equal halves. Rotate the halves 90 degrees and, with jagged surfaces facing up, join the halves together at their base, again forming a single ball, being careful not to smooth the dough’s uneven surface. Place the formed dough balls on the prepared baking sheets, jagged surface up, spacing them 2½ inches apart.

8. Bake until the cookies are light golden grown and the outer edges start to harden yet the centers are still soft and puffy, 15 to 18 minutes, rotating the baking sheets front to back and top to bottom halfway through the baking time. Cool the cookies on the sheets.

Copyright © 2014 Bad Tad, MD