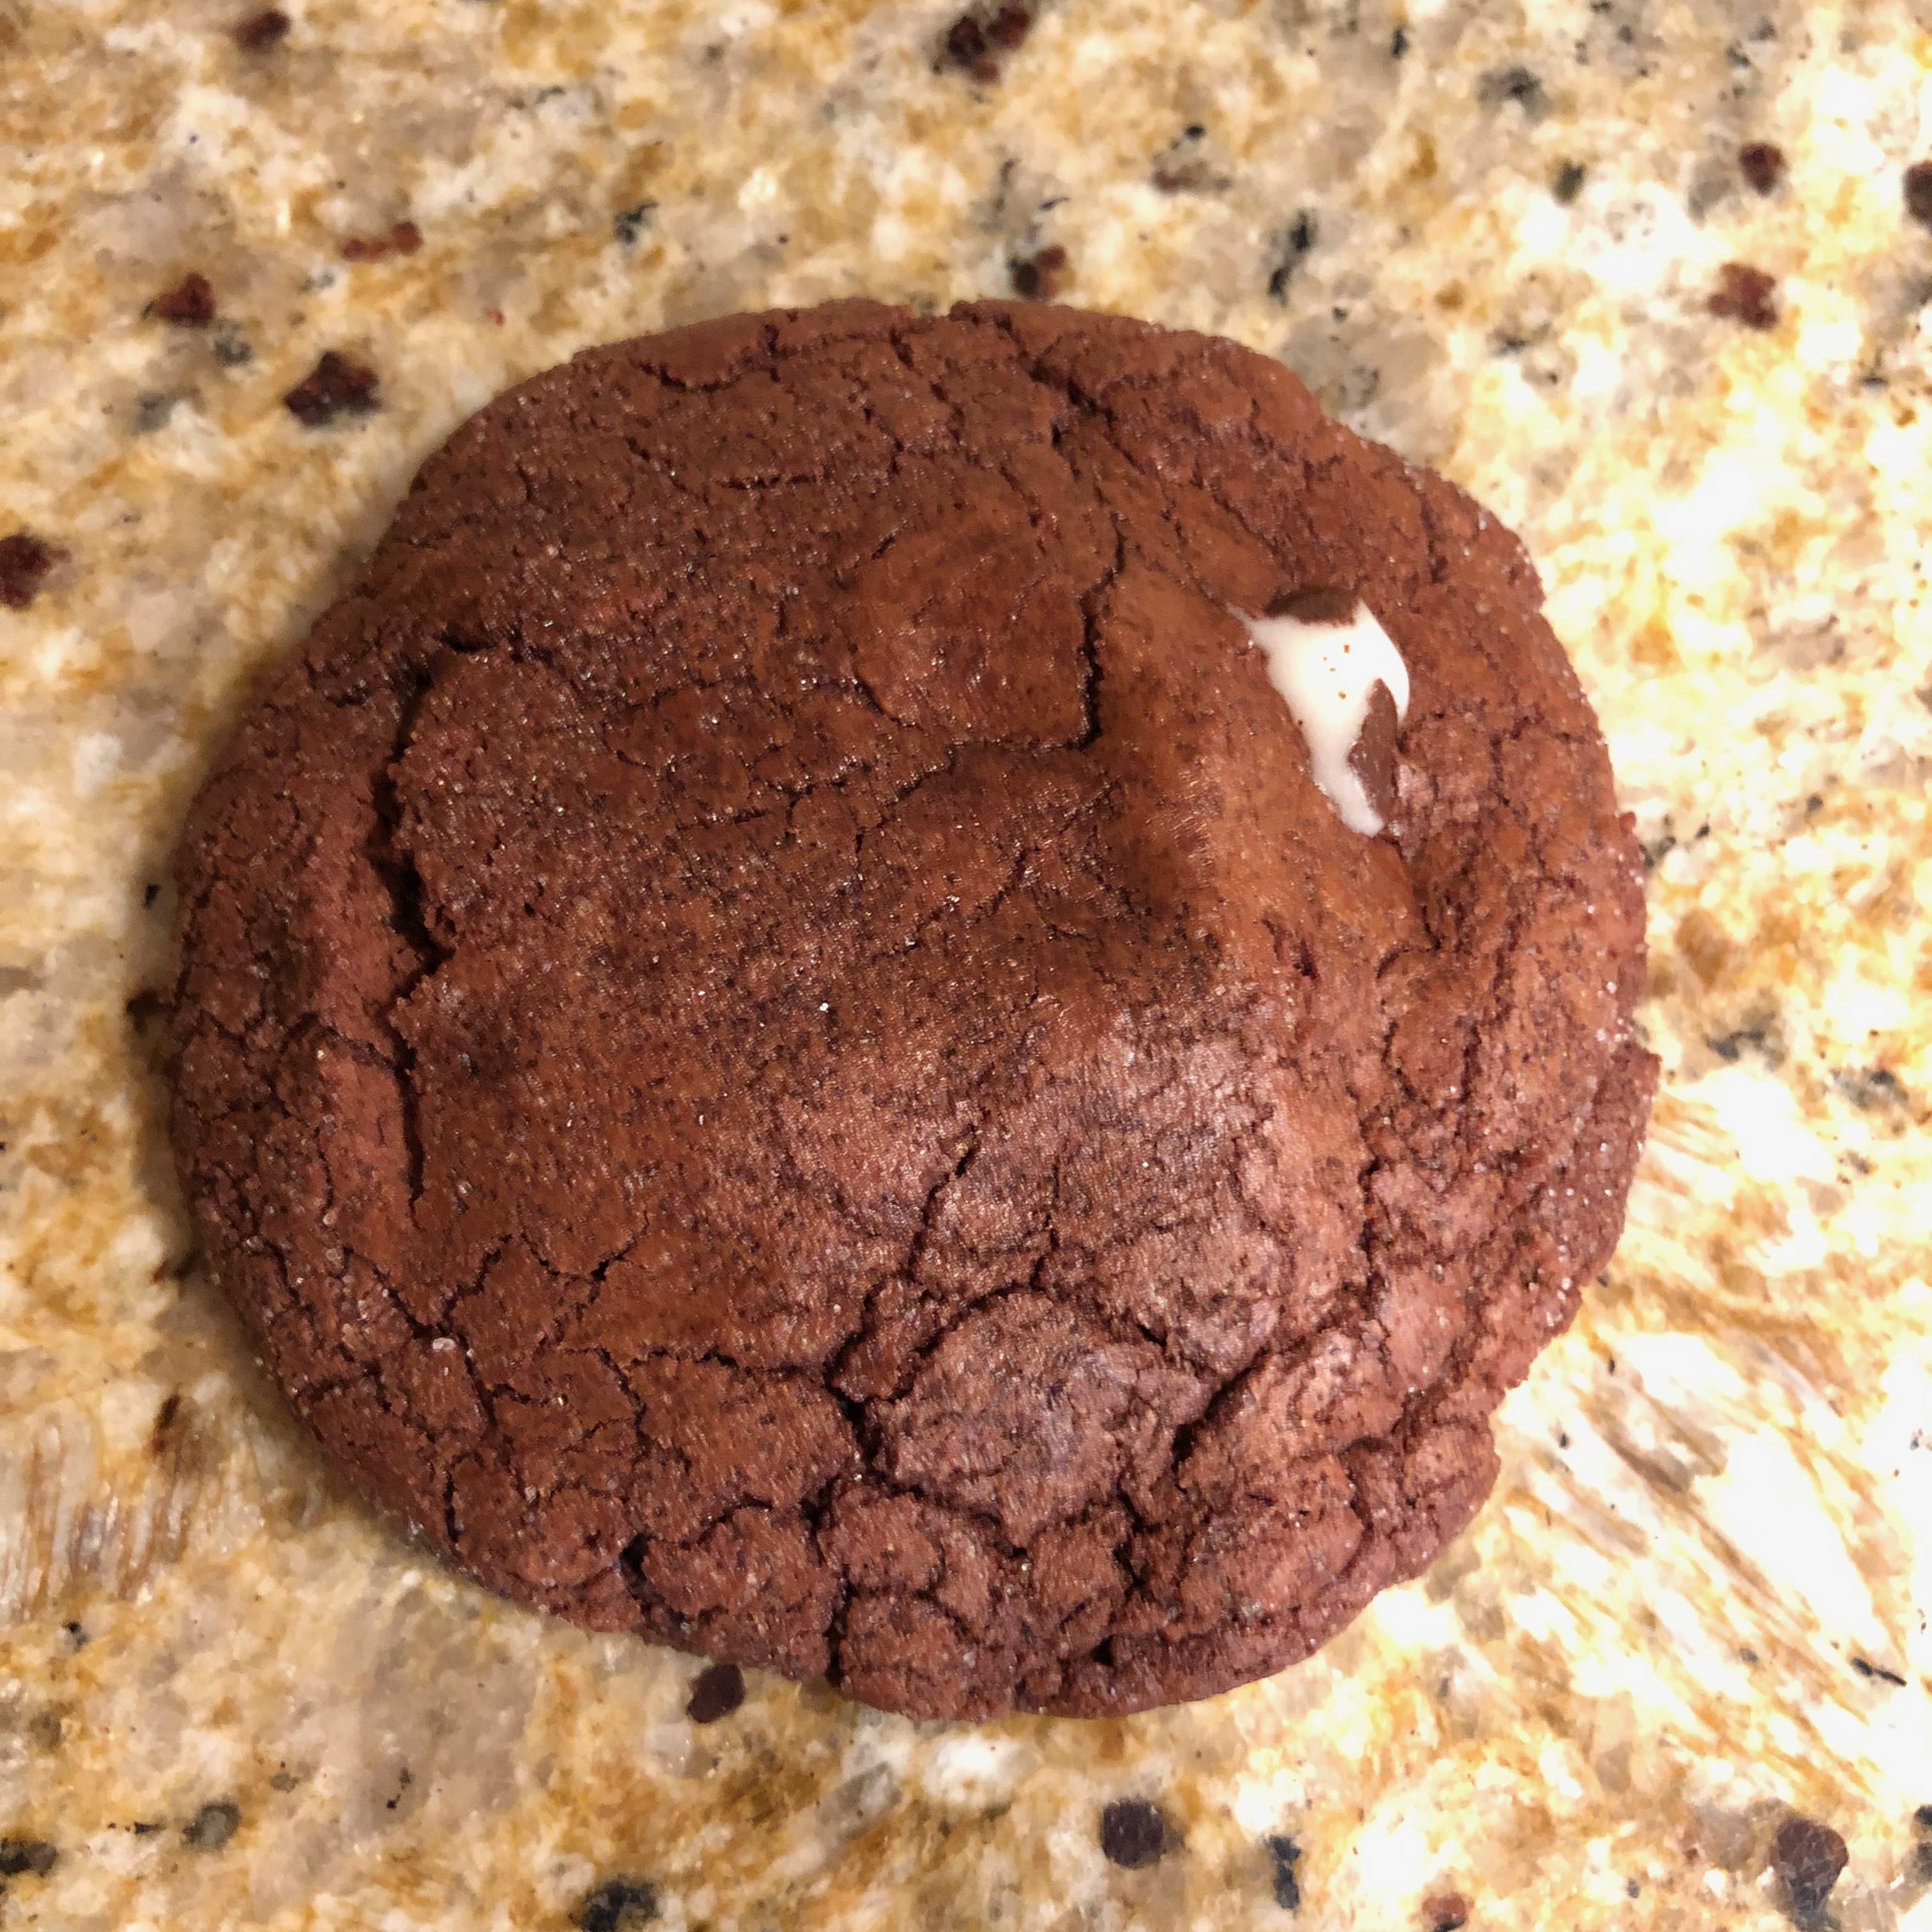
Tamarind-Jaggery Gingersnaps

Written by Tad. Posted in Cookies

I am always looking for some cookie that sounds like something I have never tried before. I am familiar with tamarind from my years living in Mexico, though I admit I never developed a taste for the candy Mexicans make with tamarind, sugar and chile. I like Indian food but admit, as well, that I am not too familiar with many of the ingredients used in Indian cooking. I had the garam masala but had to go online to buy tamarind paste and jaggery. This was a fun cookie-baking adventure.

Recipe By:

thetakeout.com

Yield:

40

Ingredients:

2 5/8 cups all-purpose flour, (12 ounces)
1 teaspoon baking soda
1 teaspoon kosher salt
2 teaspoon ground ginger
1 teaspoon garam masala
¾ cup butter
  cups powdered jaggery, sifted (see note 1)
1 egg
1 teaspoon vanilla extract
¼ cup molasses
2 heaping tablespoons tamarind paste (see note 2)
½ cup granulated sugar, for rolling (see note 3)

Directions:

1. In medium bowl, combine flour, baking soda, salt, ginger, and garam masala. Whisk to combine. Set aside.

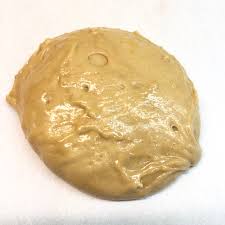
2. Using a stand mixer fitted with the paddle attachment, cream butter and jaggery until light and fluffy.

3. Add egg and vanilla to butter mixture. Mix to combine.

4. In small bowl, combine molasses and tamarind paste. Add to butter mixture. Mix to combine.

5. Set mixer speed to low. Add dry ingredients in 3 installments, scraping down sides of bowl between additions, until combined.

6. Transfer dough to a resealable glass or plastic container. Chill thoroughly, at least 2 hours and up to 3 days.

7. Heat oven to 350 degrees. Line baking sheets with parchment paper. Put granulated sugar in a small bowl.

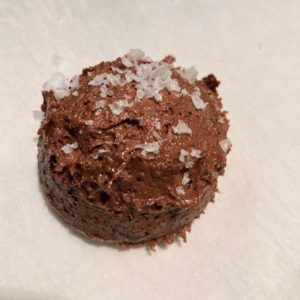
8. Portion and shape dough into 20-gram (1 tablespoon) balls (*see note 4) Drop each into the bowl of sugar and roll to coat. Transfer cookies to the prepared baking sheets, leaving at least 2 inches between each.

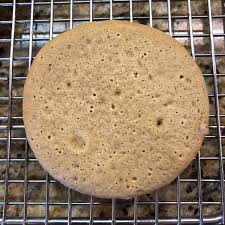
9. Bake until the cookies are golden underneath but still quite tender, 13-15 minutes. Let cool 2-3 minutes on baking sheets. Transfer to wire racks to cool completely. The cookies will crisp as they cool.

Notes:

1. Jaggery is unrefined palm sugar. It is like Mexican piloncillo, which is made of cane sugar.

2. Make sure to use tamarind paste, not concentrate.

3. I prefer Sprinkle King Con AA White Coarse Sugar.  I get it from supplyvillage.com.

4. I always use a cookie dough scooper. Well worth the investment.

Cocoa Nib Chocolate Cookies with White Chocolate and Fleur De Sel

Written by Tad. Posted in Cookies

If you have not baked with cocoa nibs, you should really give it a try. They are roasted, cracked cocoa beans. They have a great, nutty flavor and add a fun crunch to your cookies.

Recipe By:

The Grand Central Baking Book by Piper Davis and Ellen Jackson

Yield:

48

Ingredients:

1¼ cups all-pose flour
½ cup unsweetened cocoa powder
½ teaspoon salt
½ teaspoon baking soda
12 tablespoons unsalted butter, at room temperature
¼ cup granulated sugar
¾ cup packed light brown sugar
1 teaspoon vanilla
½ cup cocoa nibs
½ cup white chocolate (such as Lindt) chopped fine*, 3.5  ounces

Directions:

1. *  Chop the chocolate  into small chunks just smaller than the size of a chocolate chip.

2. In a medium bowl, sift together the flour, cocoa, salt, and baking soda.  Set aside.

3. Using a stand mixer and the paddle attachment, beat the butter, granulated sugar, and brown sugar on medium speed until light and fluffy, about 3 minutes.  Add the vanilla and beat to combine.

4. Reduce the mixer speed to low and add the dry ingredients.  Mix just until combined.  Using a wooden spoon or rubber spatula, fold in the cocoa nibs and white chocolate.

5. Divide the dough in half.  Place each half on 14-inch length of parchment or wax paper.  Smooth and pat the dough into two 2-inch by 10-inch logs.  Twist ends securely and refrigerate the logs for at least two hours and up to 3 days.

6. Preheat the oven to 325˚F.  Line two baking sheets with parchment paper.

7. Slice the cookies 3/8-inch thick and place them about 1 inch apart on the prepared baking sheets.  Bake for 15 to 20 minutes or until the cookies are just firm to the touch.

Chocolate Peppermint Surprises

Written by Tad. Posted in Cookies


These cookies were billed as “Fudgy and rich, like brownies.” That is certainly true. They are very chocolatey and decadent. You can adjust the amount of dough incorporated into each cookie. The more the dough, the more fudgy they are and the subtler the mint flavor. I am excited to make them with other stuff in the center like peanut butter cups, Werther’s candies or marshmallows.

Recipe By:

Sunset

Ingredients:

¾ cup all-purpose flour
1 teaspoon baking powder
½ teaspoon kosher salt
16 ounces bittersweet chocolate (60% cacao), chopped
¼ cup unsalted butter
4 large eggs, at room temperature
1½ cups Demerara or turbinado sugar, *see notes
1 tablespoon vanilla extract
30 small peppermint patties, such as York, 1 package, about 20 ounces, unwrapped and chilled

Directions:

1. In a small bowl, combine flour, baking powder, and salt. Set aside.

2. Put chocolate and butter in a medium-sized metal bowl and set over a saucepan of 1-inch simmering water. Bowl should not touch water. Heat, stirring occasionally, until chocolate melts and is completely smooth. Remove bowl from pan and let cool. **see notes

3. Using a stand mixer with whisk attachment, beat eggs on medium-high speed until foamy.

4. With motor running, gradually add sugar. Continue beating until mixture is light and tripled in volume, about 7 minutes.

5. Blend in cooled chocolate and vanilla, scraping bowl as needed.

6. Reduce speed to low and mix in dry ingredients until smooth. The dough will be thin, like cake batter. Chill, covered, until dough is firm enough to scoop. The original recipe said, “at least 4 hours or overnight.” When I chilled it overnight, it was so hard it was unshapable. So, it needs to be chilled to be able to work with it but watch that it not get too hard.

7. Heat oven to 350°. Line 2 baking sheets with parchment paper. Using 1-tablespoon scoop, portion a half-dozen balls of dough onto a work surface. Roll them in granulated sugar. Lightly butter the bottom of a drinking glass. Press each dough ball, with the bottom of the glass, into a disk about 2 inches wide. Repeat to make a second disk. Set a peppermint patty on one disk. Top with a second and press edges to seal. Repeat to make more cookies, spacing them about 1½ inches apart on lined baking sheets.

8. Bake 1 sheet of cookies at a time until set at edges and crackled in center, about 12-14 minutes. Let cool on baking sheets for a few minutes, then loosen from parchment with a wide spatula and transfer to wire racks to cool completely.

Notes:

*I just used granulated sugar. The original recipe says. “Light brown, partially refined Demerara and turbinado sugars have a more complex flavor than regular brown sugar. You can find them with the baking supplies at well-stocked grocery stores.” I guess my local Nob Hill is not well-stocked.

**I carefully melted them in the microwave like my dad, a master candy maker, always did.

Jam Cookies

Written by Tad. Posted in Cookies

I made this with LeBonMagot White Pumpkin and Almond Murabba with Cardamom and Vanilla. (Murabba means Jam.)  It was a gift to me from my daughter, who went into a specialty store in Manhattan, where she lives, and asked the clerk for the most interesting ingredient they had that could be use in cookies. Quite a challenge to come up with a distinctive cookie recipe using jam!

Recipe By:

Mazar Cuisine

Ingredients:

1 egg
6 tablespoons sugar
1/2 cup oil
6 tablespoons butter
1 teaspoon baking powder
1 teaspoon vanilla
3 ½  cups flour
½ teaspoon salt
1/2 cup pecans, finally chopped
8 ounces jam

Directions:

1. Heat oven to 350 degrees.

2. Beat egg and sugar.

3. Beat in oil, butter, baking powder, vanilla and salt.

4. Stir in flour, in intervals.

5. Spray 9×13 inch baking pan with cooking spray.

6. Press dough flat into baking pan.

7. Spread evenly with jam.

8. Spread nuts evenly over jam.

9. Bake 35 minutes.

Chocolate Chocolate Chip Shortbread Cookies

Written by Tad. Posted in Cookies

If you look through the many recipes on this blog, you might notice that dry, crumbly cookies are not well represented. I think it was the “chocolate-chocolate chip” part of the recipe title that caught my attention. Plus, I just wanted to try something new. Chocolatey and buttery. Good combination.

Recipe By:

Mercury News

Yield:

48

Ingredients:

1½ cups unbleached all-purpose flour
½ cup unsweetened Dutch process cocoa powder, such as Droste or Hershey’s European Style
½ teaspoon baking powder
¼ teaspoon salt
½ pound unsalted butter, softened
1 cup powdered sugar
1 cup miniature semisweet chocolate chips
4 ounces chopped white chocolate, Callebaut or Baker’s premium preferred

Directions:

1. Heat oven to 300 degrees. Line two baking sheets with parchment paper.

2. In a medium mixing bowl, mix together flour, cocoa, baking powder and salt.

3. Using an electric mixer, cream butter and sugar until smooth and light. Add sugar, increase speed to medium and beat until the mixture is smooth, about 1 minute.

4. Decrease speed to low and add flour mixture. Mix, scraping down the bowl sides as needed, until flour is completely incorporated into the dough and the dough holds together, about 2 minutes.

5. Stir in chocolate chips by hand.

6. Divide dough in half. Working on wax paper, press each piece into a 7-by-5-inch rectangle, about ½-inch thick. Use a large, sharp knife to cut each piece of dough into eight strips, each about 5⁄8 inch wide. Cut each strip into three cookies, each about 2¼ inches long. Use a wide spatula to transfer the cookies to the prepared baking sheet, placing them an inch apart. Bake cookies for 25 minutes.

7. The tops of the cookies will change from shiny to dull. Cool on cookie sheets for 10 minutes, then transfer to wire racks to cool completely.

8. Melt the white chocolate. This can be done in the top of a double boiler or in a 175-degree oven.

9. Remove from heat as soon as the chocolate melts and stir until smooth.

10. Spoon white chocolate over one end of each cookie, covering about a third of the cookie and letting any excess drip back into the chocolate bowl. Cool on rack until chocolate is firm.

Loaded-Up Pretzel Cookies

Written by Tad. Posted in Cookies


Recipe By:

Taste of Home Cookbook

Ingredients:

1 cup butter, softened
1 cup sugar
1 cup packed brown sugar
2 large eggs
2 teaspoons vanilla extract
2½ cups all-purpose flour
1 teaspoon baking powder
1 teaspoon baking soda
1 teaspoon salt
2 cups miniature pretzels, broken
1½ cups sweetened shredded coconut
1½ cups milk chocolate M&M’s

Directions:

1. Heat oven to 350°.

2. In a large bowl, cream butter and sugars until light and fluffy. Beat in eggs and vanilla. In another bowl, whisk flour, baking powder, baking soda and salt. Gradually beat into creamed mixture.

3. Stir in remaining ingredients.

4. Scoop 2 tablespoon balls of dough. Place 2 inches apart on ungreased baking sheets. Bake 12-14 minutes or until golden brown. Remove from pans to wire racks to cool.

Coffee Malteds

Written by Tad. Posted in Cookies


Recipe By:

All over the Internet

Ingredients:

3 cups all-purpose flour
½ cup unflavored malted milk powder
1 teaspoon baking powder
1 cup butter, at room temperature
1 cup sugar
½ cup packed light brown sugar
2 tablespoons ground coffee, preferably from espresso beans (or use instant or powdered coffee or espresso*)
1 teaspoon fine sea salt
2 large eggs, at room temperature
2 large egg yolks, at room temperature
1 tablespoon pure vanilla extract

Directions:

1. Position the racks to divide the oven into thirds and preheat it to 350°F. Line two baking sheets with parchment paper or silicone baking mats.

2. Whisk the flour, malt powder, and baking powder together. Set aside.

3. Working with a stand mixer fitted with the paddle attachment, or in a bowl with a hand mixer, beat the butter, both sugars, espresso, and salt together on medium speed until well blended, about 3 minutes.

4. Scrape down the bowl, return to medium speed and, one by one, beat in the eggs, yolks, and vanilla, beating for 1 minute after each goes in.

5. Turn off the mixer, add the dry ingredients all at once and pulse, just to begin incorporating the flour and malt powder. Stir until combined. Using a cookie scoop, scoop out level portions of dough and place them two inches apart on the lined baking sheets.

6. Bake for about 14 minutes, rotating the baking sheets top to bottom and front to back after 8 minutes. The cookies will be soft and golden only around the edges. They won’t look done. They’ll firm as they cool. Transfer the sheets to racks and then, after about 10 minutes, carefully lift the cookies onto the racks to cool completely.

Notes:

*I tried them with coffee extract, half as much as called for. People thought they were butterscotch, rather than coffee. Use full coffee if you want the full coffee flavor.

Try adding mini chocolate chips. I liked them better this way – more interesting.

Tad’s Chocolate Fountain Cookies

Written by Tad. Posted in Cookies

For Fathers’ Day, my wife did a chocolate fountain for our fathers. I wondered what to do with the left over chocolate/oil mixture. I schemed a bit then came up with this recipe.  The cookies are dense and have a very pleasing chew.  The oats add an interesting texture and the cinnamon richness in taste. They made me proud enough to put my own name on them.

Recipe By:

Tad

Serving Size:

60

Ingredients:

3½ cups  flour, 15.75 oz
1 teaspoon baking powder
1 teaspoon soda
½ teaspoon salt
2 teaspoons cinnamon
1 cup  butter, softened
2 cups  brown sugar
⅔ cup  sugar
2 large eggs
12 ounces milk chocolate, melted over double boiler
2 tablespoons vegetable oil
1 tablespoon vanilla
3½ cups  oats, 10.5 oz
3 cups  chocolate chips

Directions:

1. Heat oven to 350 degrees.

2. Combine flour, baking powder, soda, salt, cinnamon. Set aside.

3. Whip butter and sugars.

4. Stir vegetable oil into melted chocolate.

5. Mix eggs, chocolate mixture and vanilla into sugar mixture.

6. Blend in flour mixture until just combined.

7. Stir in oats.

8. Stir in chocolate chips.

9. Scoop into 2-tablespoon balls. Place on baking sheets lined with parchment.

10. Partially flatten each ball with the bottom of a drinking glass that has been buttered then dipped in sugar. Dip the glass bottom again in sugar before flattening each subsequent ball.

11. Bake about 13 minutes. Don’t bake them until they look done or they will be over-done (as is true with almost all cookies.)

Salty Black Licorice Brownie Cookies

Written by Tad. Posted in Cookies


My wife doesn’t like black licorice but she really liked these. They are sophisticated and rich. Use less or more ground anise, according to your taste.

Recipe By:

Food52.com

Ingredients:

7 ounces 60% dark chocolate chips
2 tablespoons water
2 teaspoons vanilla extract
1/2 cup unsalted butter
2 large eggs, room temperature
3/4 cup granulated sugar
1/2 cup dark brown sugar, packed
1 cup all-purpose flour
3 tablespoons black cocoa powder (or Dutch-processed cocoa powder)
1 teaspoon baking powder
2 tablespoons licorice root powder (available in specialty spice stores)
1-2 teaspoons ground anise
1/4 teaspoon kosher salt (plus flaky salt for sprinkling on top)

Directions:

1. Preheat oven to 375° F. Line 2 large baking sheets with parchment paper or silicone baking mats.

2. Place chocolate, water, and vanilla extract in a medium heat-proof bowl. Set aside.

3. Place butter in a small pot over medium heat and begin melting. Cook for about 4 minutes, stirring frequently, until butter begins to brown and smell nutty. Immediately pour over chocolate mixture and stir until completely melted. Set aside.

4. Place eggs and both sugars in the bowl of a stand mixer fitted with a whisk attachment. Whip on high speed for 7 minutes until eggs are pale and ribbony. Meanwhile, sift together flour, cocoa powder, baking powder, licorice root power, anise, and salt. Set aside.

5. Reduce mixer speed to low and slowly add melted chocolate mixture. Once combined, add dry ingredients and mix until just incorporated.

6. Using a large #20 cookie scoop (or 3 rounded tablespoons), portion batter onto prepared trays leaving two inches between each. Sprinkle tops with flaky salt and bake until puffed and crackly, about 11 minutes. Remove from oven, give the tray a good smack against the counter, and let cool for at least 20 minutes.

Samoa Cookies

Written by Tad. Posted in Cookies

I have made knock-off Samoas before but this is the closest to the real Girl Scout Cookies that I have tried. Not easy to make so you really have to not want to pay the Girl Scouts to do the work for you.

Recipe By:

“Siriously Delicious” by Siri Daly

Yield:

30

Ingredients:

Cookies:
1 cup unsalted butter, at room temperature
½ cup powdered sugar
½ teaspoon vanilla extract
⅛ teaspoon almond extract
2 cups all-purpose flour
½ teaspoon table salt
Coconut-caramel topping:
2 1⁄2 cups sweetened shredded coconut
12 ounces store-bought caramel candies
2 tablespoons whole milk
Pinch of table salt
Chocolate coating:
6 ounces milk chocolate baking bar, chopped
6 ounces semisweet or dark chocolate baking bar, chopped
1 teaspoon vegetable oil

Directions:

1. Heat the oven to 300 degrees.

2. Make the cookies: Beat the butter and powdered sugar with an electric mixer on medium speed until smooth. Add the vanilla and almond extracts and beat until combined.

3. Sift together the flour and salt in a separate bowl. Slowly add the sifted ingredients to the butter mixture, beating on low speed until combined. Shape the dough into a disk; wrap in plastic wrap, and chill 30 minutes.

4. Meanwhile, make the topping: Spread the coconut on a baking sheet. Bake until lightly toasted, about 10 minutes, stirring frequently.

5. (Be careful, as coconut burns easily.) Set aside. Increase the oven temperature to 350 degrees.

6. Unwrap the chilled dough disk and roll it out on a lightly floured surface to a 1⁄4-inch thickness. Cut the dough, using a floured 2-inch round cutter. Using the tip of a sharp knife, cut out a 3⁄4-inch circle in the center of each cookie, reserving the cutouts for scraps. (I used the small plastic lid off a medicine spray bottle to cut out the inner circle. Next time, I would just skip cutting out the holes at all unless I really wanted them to look authentic.) Reroll the scraps as necessary. I had to rechill the dough between rollings as it is very soft. Place the cookies, 1 inch apart, on parchment paper-lined baking sheets.

7. Bake until the edges begin to slightly brown, 10 to 14 minutes. Cool the cookies on the pans for 5 minutes, then transfer to wire racks and let cool completely, about 20 minutes.

8. For the coconut-caramel topping, place the caramels, milk and salt in a saucepan over low, and cook, stirring occasionally, until melted and smooth. Stir in the toasted coconut and remove from the heat.

9. Spread the topping over the top of each cooled cookie. (After doing removing the coconut mixture from the centers of a few, I decided to be less than authentic and just leave the centers filled with caramel/coconut. In fact, next time I would just skip cutting out the centers at all. Less authentic but taste just the same and ever so much easier.) Let stand until the topping is set, about 20 minutes.

10. Meanwhile, make the chocolate coating: Pour water to a depth of 1inch into the bottom of a double boiler over medium heat; bring to a boil.

11. Reduce the heat to a simmer; place the chocolate in the top of the double boiler (or place a heatproof bowl over simmering water, making sure the water does not touch the bowl), and stir until melted. Add the vegetable oil and stir until you have a glossy chocolate sauce.

12. Remove from the heat.

13. Dip the bottoms of the caramel-covered cookies into the chocolate coating by holding each cookie between your thumb and pointer finger.

14. Place on parchment paper-lined baking sheets. Place the remaining chocolate coating in a piping bag, a zip-lock plastic bag with the corner snipped off, or a plastic condiment squeeze bottle. Drizzle the chocolate over the top of each cookie. Chill the cookies until firm and set, about 15 minutes.

Notes:

If you just want to eat them and are not too hung up on recreating the originals, skip the hole in the center. Saves a lot of headache and, obviously, has no effect on the taste.

Copyright © 2014 Bad Tad, MD